Wednesday, November 27, 2019

Loving you is easy layout created for 49 and Market

Good morning and welcome back to the blog 49 and Market fans!
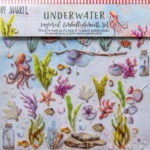
Today I would like to share with you a bright and happy layout using the ever so stunning Serendipitous Mini Collection. I believe this has to be my all-time favourite 49 and Market collection. Do yourself a favour and grab this collection if you haven’t already because you won’t regret it, simply gorgeous!
"Loving You Is Easy" by Hetty Hall

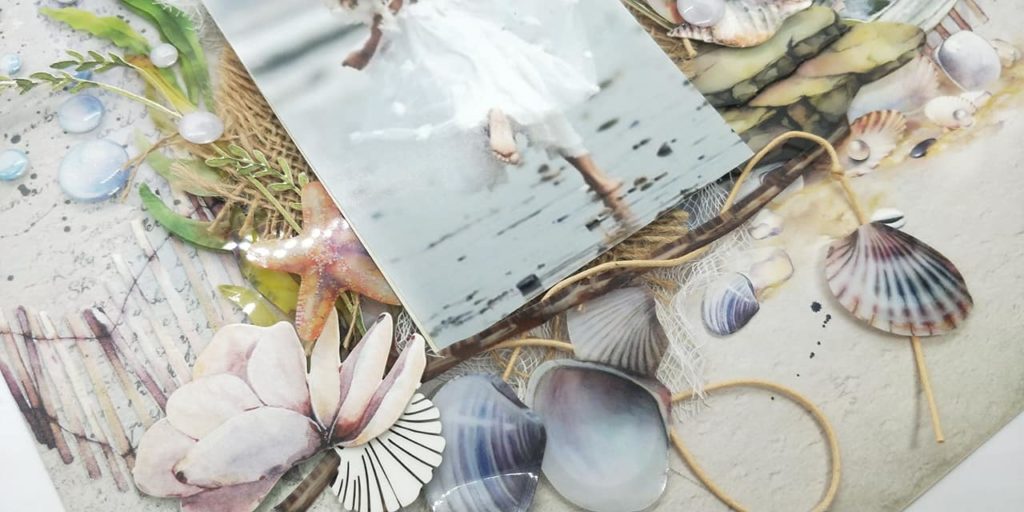
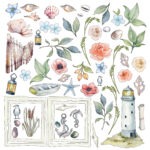
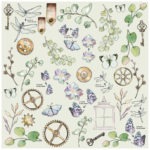
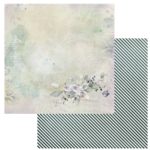
For my background paper, I chose the Serendipitous “Hazy Morning” paper and placed my photo on top of the cluster design printed on the paper, this made it look like I had put more layers. Next I grabbed my matching Laser Cut Sheet full of gorgeous pre-cut leaves and flower images amongst some other pretty designs and started layering them around my photo to add depth and dimension to the design already printed on the background paper.
"Loving You Is Easy" by Hetty Hall
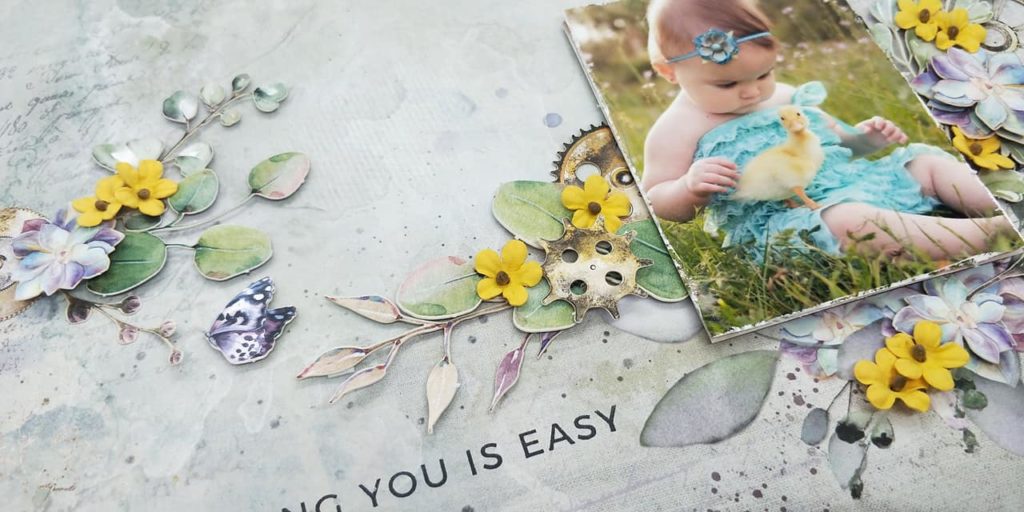
I extended the design work a little to the left of my photo and added a cluster of embellishments for design appeal. For that finishing touch I added the gorgeous Pixie Petals in Sunshine to add a pop of colour and a sentiment stamp. Another quick and easy layout which I absolutely adore.
"Loving You Is Easy" by Hetty Hall
Products I used:
SC-88800-serendipitous-laser-cut-images
Serendipitous Laser Cut Shapes
Serendipitous - Hazy Morning
Serendipitous – Hazy Morning
Pixie Petals - Sunshine
Pixie Petals – Sunshine
Thanks once more for popping in and I hope I inspired you to make your own creation using one of the many 49 and Market Mini Collections.
Until next time,

Monday, November 25, 2019

Shells layout created for Kaisercraft

November 25, 2019

Welcome back Kaisercraft Fans, hope you enjoy today’s blog post. Unchartered Waters is the perfect collection for all your beach or boating photos.
PRODUCTS USED:
PAPERS: P2847 Oceanic | P2853 Sea Shore | P2855 Shallows |
SK819 Sticker Book | CT973 Collectables | FL660 Flourish Pack |
I started the layout by tearing some of the ‘Oceanic’ paper to match my photo. I then adhered this to my background paper and started building the rest of my layout by cutting up some of the sentiments from the ‘Shallows’ paper and using the reverse site to layer behind my photo. I also cut out some of the rope design from the ‘Sea Shore’ paper and also layered this behind my photo. I then added lots of matching embellishments using a combination of stickers, collectables and flourishes to build up my design. Absolutely love those bubble images and they come both in the sticker book as well as the collectables set so plenty to go around.
You will be able to find fully instructions for this layout here.
That is it for me today, happy crafting.
Until next time…
Hugs
Hetty

Wednesday, November 20, 2019

Memories documented created for Dusty Attic November Moodboard

Good Morning Dusty Fans, welcome back to the blog. Today I would like to share with you my interpretation of this month's mood board, which by the way is completely stunning, one of my favourites, love the soft pastel colour combo.

Memories Documented

So I  made this layout all about frames to continue the pattern already printed on the lovely 49 and Market papers. I painted the square frames with the Dusty in Colour Cranberry and layered them on my background paper. Next I coloured my Vintage Frame in Bisque, let it dry and added another light coat of Cashmere to get that two tone look. The Vintage Frame was then added to the Square Frames with some cardboard to create height and dimension and on top of that I added my photo.

Now I have the basic layout together I started adding all my my gorgeous 49 and Market flowers and embellishments, trying to stay true to the colours of the mood board. Finally I choose my title and painted it in metallic gold which gives it a nice elegant touch

Dusty Attic Products Used:

That is all for now, thanks so much for dropping in.
Until next time.....
Hugs
Hetty

Monday, November 11, 2019

Never stop exploring layout created for 49 and Market

Hi there 49 and Market fans, thanks so much for stopping by the blog once more. Today I would like to share this beach layout with you. I am completely in love with the Seaside Collection. It is really hard to explain how gorgeous they are so you just have to go out and buy some to see for yourself.
"Never Stop Exploring" by Hetty Hall
“Never Stop Exploring” by Hetty Hall
I loved every minute of putting this layout together, all the gorgeous layered embellishments and laser cuts make it so easy and because the design printed on the paper is so intricate and detailed, really all the hard work has been done for you, you just have to find that perfect photo and decide on which embellishments to use.
"Never Stop Exploring" by Hetty Hall
So on this layout I used a combination of Layered Embellishments, Laser Cuts, and Archival Board combined with a bit of cheesecloth and hessian, just love the end result.
"Never Stop Exploring" by Hetty Hall
Products I used:
Seaside - Seaside Cottage
Seaside – Seaside Cottage
Underwater Layered Embellishment Set
s-31757-seaside-laser-cut-outs
Seaside Laser Cut Outs
AB-88695 Never Stop Exploring Archival Chipboard
Never Stop Exploring Archival Chipboard
Burlap Ribbon - Natural 4" X 1m RB 84383
Burlap Ribbon – Natural 4″ X 1m
Thanks heaps for stopping by, I hope you liked my layout and that I inspired you to have a go yourself.
Until next time…

Thursday, November 7, 2019

Do all things with love layout created for Kaisercraft

November 7, 2019
Good morning Kaisercraft Fans, welcome and thank you for popping in. I love this month’s new collection ‘Lady Like’, such gorgeous muted pinks and greens, my favourite colour combination.
PRODUCTS USED:
PAPERS: P2876 Jessica | P2881 Patsy |
SK820 Sticker Book | CR220 Curios | DD3352 Lily Decorative Die |
For this layout I mainly used images from the Sticker sheet book to layer around my photo, I just love these cause as much as I love fussy cutting sometimes you just run out of time and need something nice and easy where all the hard work is done for you so these stickers did the trick just nicely. I also used the Lily decorative die and layered it underneath my flower stickers, the pop of white helps it stand out and the Lily die is beautiful and detailed in design, love it! I used a few cut outs from the reverse of ‘Patsy’ to create a background drop for my photo, finished it off with a couple of simply stunning matching Curios.
You will be able to find fully instructions for this layout here.
That is it for me today, happy crafting.
Until next time…
Hugs
Hetty