Tuesday, August 27, 2019

Hello Today layout created for 49 and Market

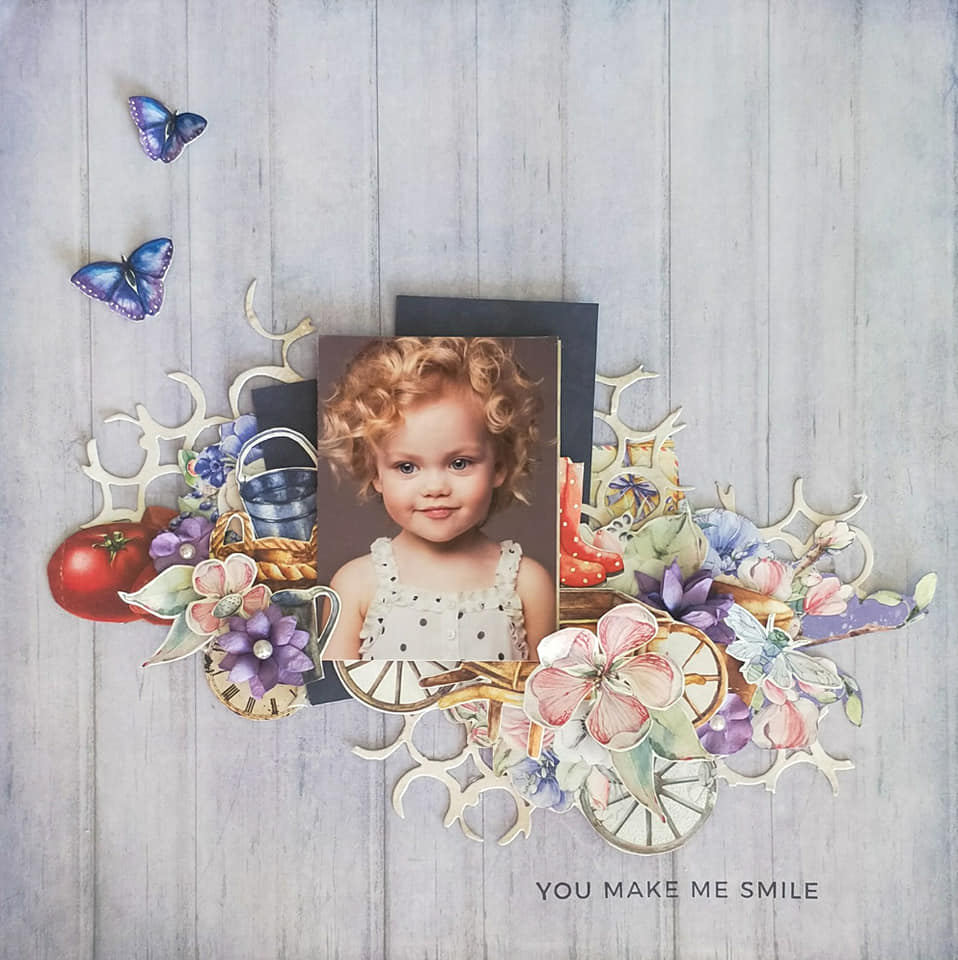
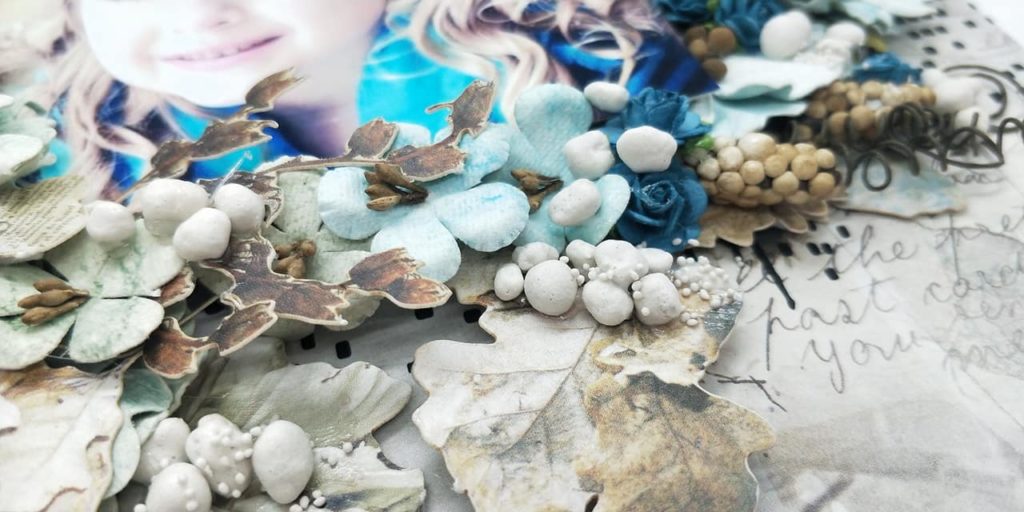
Hello 49 and Market fans and welcome to another blog post. Today I would like to share with you a layout created with some Captured Adventures paper combined with Vintage Remnants Laser Cut Shapes and some gorgeous Botanical Blends flowers.

"Hello Today" by Hetty Hall

I started by creating my background using a stencil from The Dusty Attic and black Gesso. I then chose some pieces from the laser cut shapes to create a backdrop for my photo. I attached these with some cardboard and hot glue to create numerous layers, this layout turned out rather dimensional.
"Hello Today" by Hetty Hall
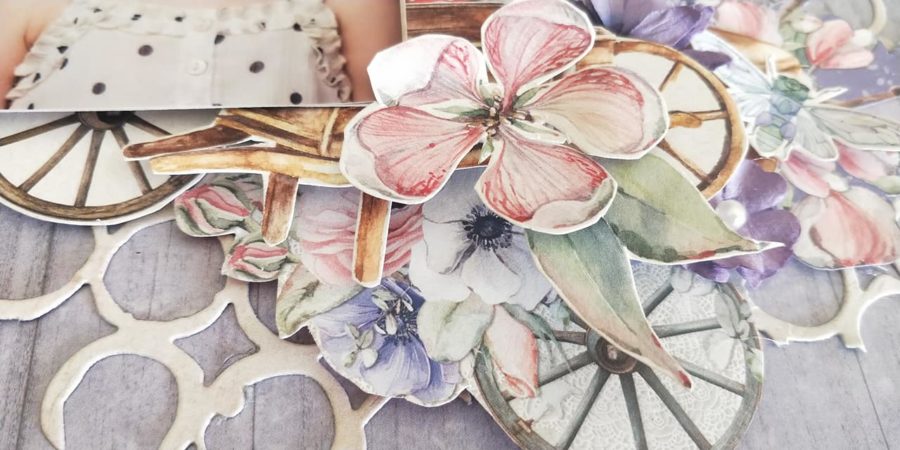
The flowers were added on top and in between all the layers, I just took my time working on the design. Once all the bigger flowers found a spot I added all the smaller ones and also added some more pieces from the laser cut shapes. For the final touch I added a Dusty Attic chipboard sentiment and some art stones to add a bit of grunge.
"Hello Today" by Hetty Hall

Thanks so much for visiting the blog, come back again tomorrow for more inspiration from one of the 49 and Market DT ladies.
Until next time….

Saturday, August 24, 2019

Wonderful layout created for Kaisercraft

August 24, 2019
Hi there Kaiser Fans, welcome back to another blog post from me, Hetty with you today. I have to say I am in love with the collections Kaisercraft brings out that contain the foil, they just add that bit of extra pizzazz don’t you think?
PRODUCTS USED:
PAPERS: Let it Snow Collection: P2807 Shimmering|
CT968 Collectables|CR214 Curios|
KC PRODUCTS:|Foam Tape|Foam dots|
The Collectables make it so easy to put together a quick page, looks like you used lots of products.
Check out that beautiful foil touch and this is also a close up of a Curio used, love them!
I had fun actually using multiple photos, I generally tend to just use one but being a Christmas page I thought it would be a good idea to add a few more, I do like how this turned out.
I hope I inspired you to visit your local craft store and buy this collection and start working on your Christmas layouts.
You will find full instructions for this project here.
That is it for me today – Happy Crafting!
Until next time……
Hugs
Hetty

Wonderful layout created for Kaisercraft

Hi there Kaiser Fans, welcome back to another blog post from me, Hetty with you today. I have to say I am in love with the collections Kaisercraft brings out that contain the foil, they just add that bit of extra pizzazz don’t you think?
PRODUCTS USED:
PAPERS: Let it Snow Collection: P2807 Shimmering|
CT968 Collectables|CR214 Curios|
KC PRODUCTS:|Foam Tape|Foam dots|
The Collectables make it so easy to put together a quick page, looks like you used lots of products.
Check out that beautiful foil touch and this is also a close up of a Curio used, love them!
I had fun actually using multiple photos, I generally tend to just use one but being a Christmas page I thought it would be a good idea to add a few more, I do like how this turned out.
I hope I inspired you to visit your local craft store and buy this collection and start working on your Christmas layouts.
You will find full instructions for this project here.
That is it for me today – Happy Crafting!
Until next time……
Hugs
Hetty

Tuesday, August 20, 2019

Paw prints on my Heart layout created for The Dusty Attic

Hi there Dusty Fans and welcome back to the blog for the August Moodboard Challenge.
For this layout I decided to create a dog project as Dusty Attic has brought out heaps of lovely new pet Chipboard.

Paw Prints on my Heart
You just got to love that Sentiment - so sweet!
So I tried to pick all of the colours in the month's moodboard, they are just so stunning!
I started the layout by adding some light paste through a Dusty Stencil - Heart Attack DA1309.

I added some Dusty in Colour Sunburnt Orange paint to my title and finished it of with some Dusty Clear Crackle Varnish. 
How cute are all those Dog Icons. To keep it uniform I added more Dusty in Colour paint but this time I mixed Bisque and Denim as I wanted a blue colour but I didn't have anything lighter then Denim so this worked well. 
Some more Dusty in Colour Bisque was added to the wee paw prints which I think are super cute! 
In between the flowers I added the Tea Leaves which I painted in Dusty in Colour Ginger nut. 

Dusty Attic Products:


That is it for now. I hope you will also play along with this challenge as you can win some great prizes.

Until next time....

Hugs

Hetty

Sunday, August 11, 2019

You make me Smile layout created for 49 and Market

Hi everyone and welcome back to the 49 and Market blog, it’s Hetty with you today.

"You Make Me Smile" by Hetty Hall
“You Make Me Smile” by Hetty Hall

For today’s project I decided to use an older collection,  Cottage Life. I just love all the gorgeous colours in this collection, it makes for such a bright and happy layout. To start, I added a couple of off cuts from “Fresh Delivery” and layered these behind my photo. From there, I worked on my design by fussy cutting various images from “Cottage Cut Outs” as well as “Watering the Garden” and used these as my embellishments around my photo. Of course I layered them all with foam tape and dots.
"You Make Me Smile" by Hetty Hall
To finish it off I used a die to die cut from “Fresh Delivery” and added these amongst my embellishments as well as a few violet flowers. This layout came together pretty easily because the design work on the 49 and market printed papers is stunning and make great embellishments.
"You Make Me Smile" by Hetty Hall

Thanks again for visiting the blog, I hope you enjoyed my project today.
Until next time…
Hugs.

Friday, August 2, 2019

Stencil Album - So much Goodness - Designed for Dusty Attic

Good morning Dusty Fans and welcome back again to the blog. Today I have something a little different to share with you. I decided I really wanted/needed a place to store all my Dusty Attic Stencils so I came up with this little album which I created from scratch and of course decorated with lots of gorgeous Dusty Attic Chipboard pieces.

So much Goodness


I started by putting together the cover with some sturdy cardboard pieces covered in some black cardstock, created the hinges to attach the plastic sleeves which I cut to size from some spare scrapbooking album inserts and added black paper to the sleeves so the stencils would be clearly visible. 

Once I decided on what papers to use I decorated the album by trimming some printed paper to size while still showing an edge of the black cardstock for definition. I then used one of the Dusty Attic Stencils for the front cover, added some sprays to show up the texture. Once dry I fussy cut some elements from some printed paper from same collection, layered them with foam dots and added all my choosen Dusty Attic Chipboard pieces which I covered in chocolate embossing powder. For my final touch I finished it with a flower from 49 and market to add a splash of colour.

And there you have it, a designer handmade stencil album that is practical as well as a beautiful decorating item.

Dusty Attic Chipboard pieces used on this project:


Thanks so much for dropping in.

Until next time......

Hugs

Hetty