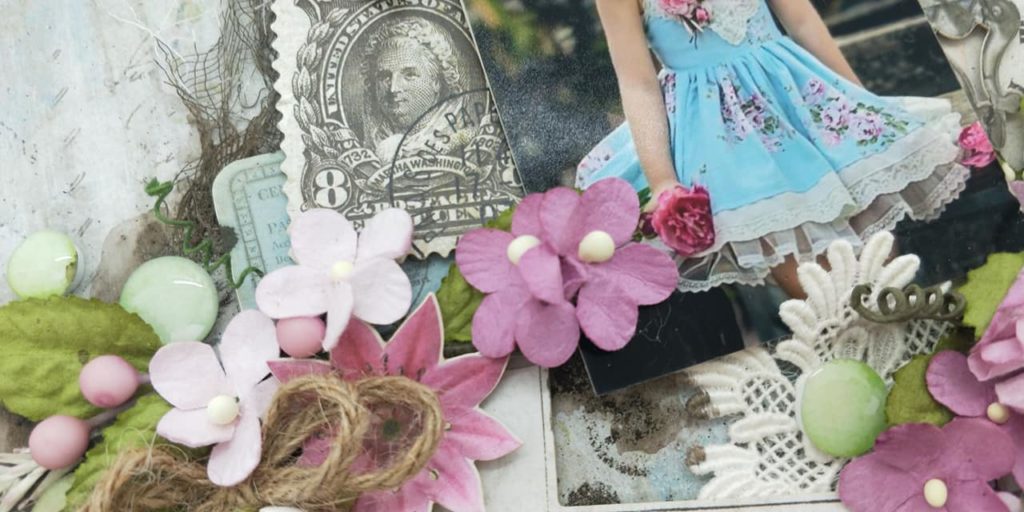
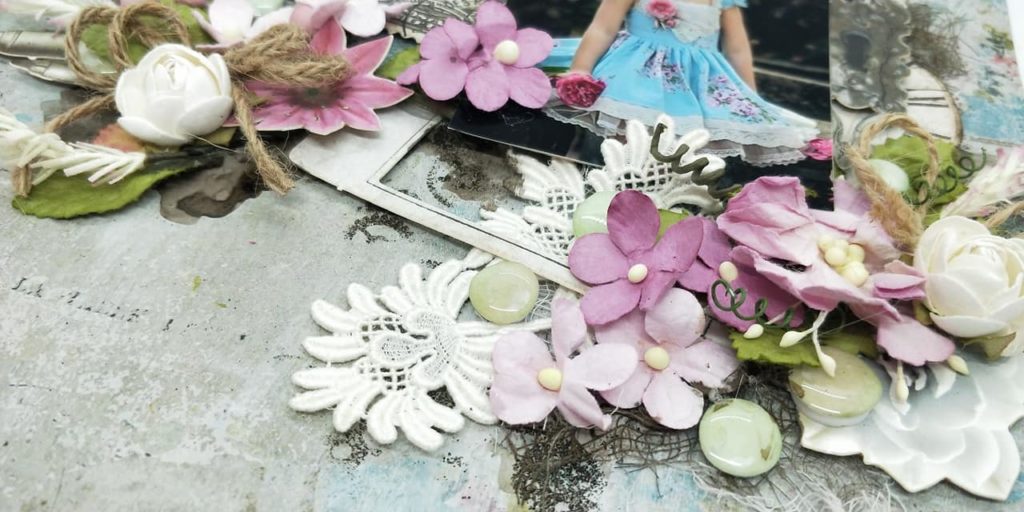
Hello dear friends and fans welcome back to the 49 and Market blog. Today I would like to share with you a bright and colourful layout using Vintage Remnants paper and laser cuts combined with some gorgeous colourful Country Blooms.
I started my layout by stamping the Steampunk Stamp set with Versamark ink and embossing it with some distress brown embossing powder to add some texture and grunge to my background.
Next I added some left over laser cut pieces from the Vintage Remnants collection from another project and arranged them around my photo with lots of layers. In between those layers I added the gorgeous bright flowers and a little bit of gorgeous lace I picked up from the op shop.
I finished it off with a bit of twine and some Wishing Bubbles – which I adore and there you have it, another completed layout with loads of gorgeous 49 and Market goodies.
Hi there Kaiser Fans and welcome back to the blog, it is Hetty with you again. Today I would like to share with you a Christmas layout using the ever so gorgeous Starry Night collection. Look at those stunning gold foil accents.
The most Wonderful time of the year
PRODUCTS USED: PAPERS: LET IT SNOW Collection: P2821 Modern|P2828 Radiant|P2823 Magic|CT970 Collectables|
KC PRODUCTS: SF 901 White Art Foam sheet|DIY Flora Daisy Die|Flower Cluster Die|IP 739 inkpad – Flamingo|
I kept this layout really simple and just made my photos shine but adding some of the gorgeous gold pieces from the Collectables and combined it with some die cuts from some darker paper to make it pop. The flowers are handmade from art foam using a flower die and coloured with some Kaiser ink.
You will be able to find fully instructions for this layout here.
Hi there Dusty Fans and welcome to the blog. Today I would like to share with you my version of this months gorgeous moodboard. I just love the gorgeous dark and moody colours in this palette.
As you can see I have used lots of gorgeous Dusty Chippie to design my layout and added some pretty 49 and Market Flowers and Laser Cuts, the cute photo just topped it all off.
I used both pieces in the Floral Frame Set #3 but cut apart the larger piece. I then added some metallique paint and wax. The title was embossed in some glitter embossing powder.
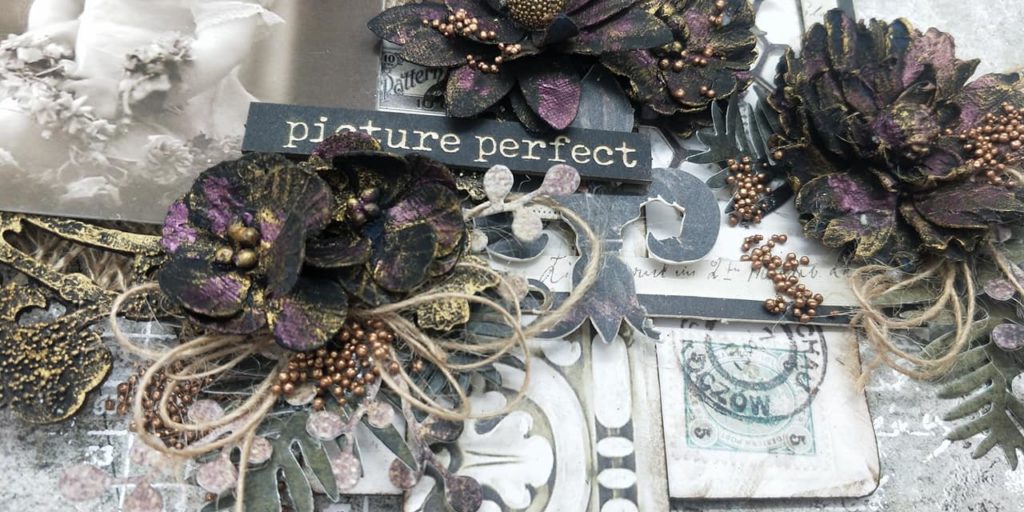
Hi there 49 and Market fans, thanks heaps for dropping in once again. I am very excited to share with you my latest layout, “Picture Perfect”. This layout uses mainly the gorgeous papers and laser cut shapes from the Vintage Remnants Collection.
I started by randomly stamping images from the ‘Rations Stamp Set’ and embossing it with white embossing powder. Next I started on my design using the Laser Cut Shapes from Frame Set No 03, layering them with dimensional tape. The Laser Cut Shapes make it so easy to embellish, they just pop out of their sheets, too easy, love it!
Black Gesso was added to my flowers, little by little drying the layers in between so they don’t stick together. Once completely dry I randomly rubbed on some gold wax and for a finishing touch I added just a tiny bit of metallique paint to give it a touch of colour.
I added my flowers as well as my photo with a piece of burlap to my layout and finished it off by adding some die cut leaves, twine and prills.
Hello and welcome back to the blog, it is Hetty with you today sharing my very first Technique Tuesday blog post.
Today I would like to share with you some shaker tags using the cute Peppermint Kisses collection.
Products Used: Papers:Peppermint Kisses Collection: PP1075 Paper Pad|CT969 Collectables| KC Products:Permanent Black Kaiser Ink|Kaiser Christmas Sentiment Stamps|Kaiser pocket pages or album inserts|Kaiser Die Cut Machine|Kaiser White Cardstock| Other:Fuse Tool|Punch Tool|Tag Dies|Eyelets|Glitter|Thread|Washi Tape|
Start by die cutting to large tags from your white cardstock.
Next cut large tag from chosen printed paper from the paper pad and lay the smaller tag in the middle of the big one as seen in photo below.
You should now have something like this:
Glue the two white tags back to back (I like to use two to for sturdiness) add the ‘from – to’ sentiment to the back of the white tag.
Glue the printed front onto the front of the white tag and you now should have something like this:
Next grab your pocket page or album insert and add your large tag on the top. Add some washi tape to hold it in place.
Run your fuse tool along the sides and the bottom of the tag but not the top sides just yet as you need to insert your tag first.
Trim closely to the seam but leave a big gap at the top. You should now have something looking like this:
Insert your tag and add other embellishments like glitter and whatever else you would like to add to your shaker tag.
Now add the die back on top and line it up so you can finish the top edges.
Trim off excess plastic. Punch a whole through the top, add an eyelet and some ribbon or thread. Embellish the outside with your favourite pieces from the collectables range.
That is it, you are done. I hope you liked this tutorial. These tags are so fun to make and the best part is they are reusable. Write on the back with a permanent marker and it wipes off again easily with some methylated spirits or something similar.
I made a special display box so I could store my cards, gift cards and tags. Such a cute range, perfect for kids and kids at heart.